WINDOWS CE DIALUP CONFIGURATION
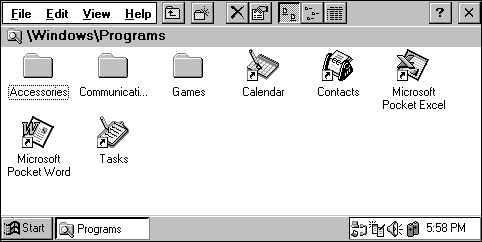
1. Ensure that the Windows CE is displaying the desktop and then
go to the Start menu and select Programs.
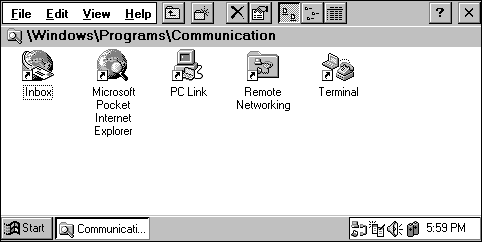
Enter the Communications folder.
 |
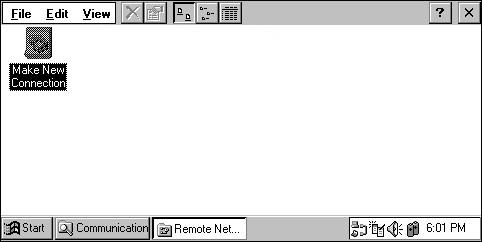
2. Start the Remote Networking program.
 |
3. Tap Make New Connection.
 |
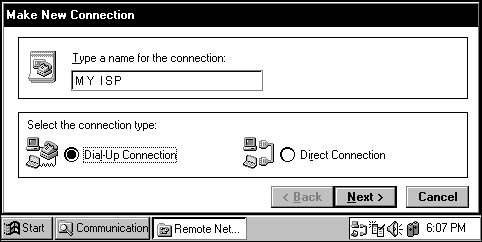
4. Select Dial-Up Connection and press
Next...
 |
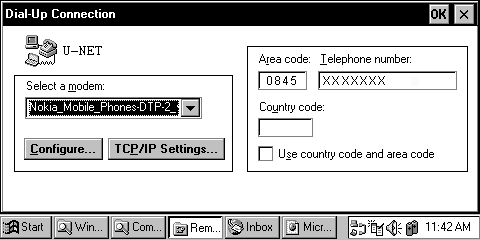
5. Select a modem - your modem should be in the drop-down list - and enter the number to be dialed in the entry box at the right. Note that, by default, the area code and country code entry boxes are not used.
Press Configure....
 |
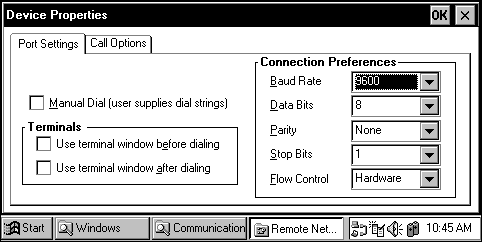
6. In the modem's Device Properties screen,
ensure that the connection preferences are configured correctly for
the device. Note that our servers do not officially support connection
at less than 33kbps.
 |
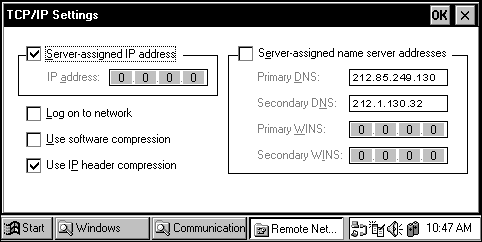
Returning to the Dial-Up Connection window, click on TCP/IP settings.
7. In TCP/IP Settings, turn on (check)
Server assigned IP address and Server-assigned name server
addresses. Also, check Use IP header compression and - very
important for WinCE 2.0 machines - turn on Use software compression
(CE2 locks up if you don't do this).
 |
8. OKing this should reveal the new dialup connection. Select this and enter your username and password into the relevant entry boxes and pressing connect should establish a dialup connection.